DIY: $10 Bumper Plugs
#1
 01-12-2007, 04:15 PM


DIY: $10 Bumper Plugs
This is a little DIY I did because I couldnt justify spending $30 on bumper plugs. Hope this is easy to follow and saves some people some money.
Heres how to make your own Bumper plugs for $10:
Supplies needed:
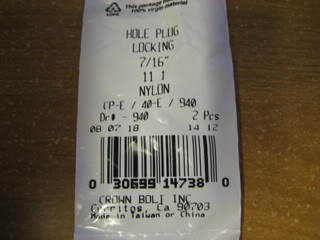
Hillman 7/16 Nylon Hole plugs (Black)
OEM Touch Up paint
Spray Enamel
220 grit Sandpaper
Pocket knife

Steps:
1. Go to your local Lowes or Home Depot and buy Hillman 7/16" Nylon Hole plugs in Black. Also buy some spray enamel or clear coat for added durablilty.
2. Buy OEM touch up paint if you dont have some already. Its about $8.00 and you will need it in the future anyway.
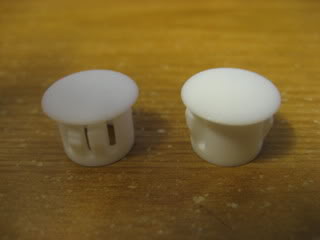
3. The plugs are not smooth on the top, so I sanded them with 220 grit sandpaper, which will also help the paint adhere. Wipe them off so no plastic dust is left.
4. Set the plugs so they will be easy to paint and will not get knocked over, I just pushed them in about 1/4" into a piece of styrofoam.
5. Shake up the touch up paint for a long time, then apply a thin single coat of paint to each plug. Let them dry for 20-25 minutes. Repeat this step as many times as necessary. (I used about 6 coats)
6. After they are totally dry, I hit them with 3 coats of spray enamel (about 10 minutes apart) for added durabilty. Then let them dry for a day or so.
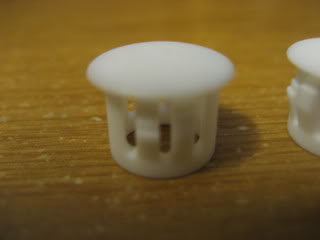
7. The 7/16" plugs wont fit in the holes, you need to bore the existing holes out ever so slightly to ensure a tight fit. I used a pocket knife and did one round in the hole. After that the plugs will barely fit, you have to push them in. Be very careful not to make the hole too big!
8. Pop both of those babies in and bam! Youre done. Then take your girl out to dinner or something with the extra $20 you saved
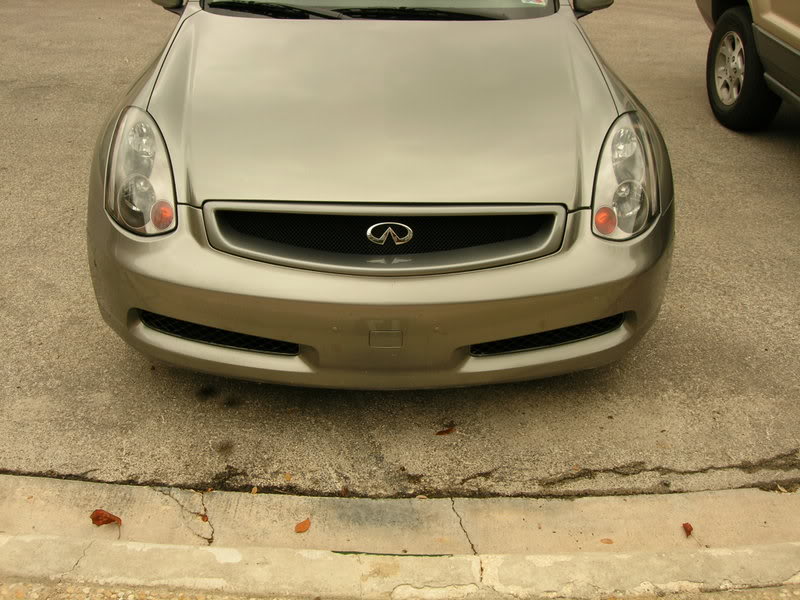
Before Bumper Plugs:
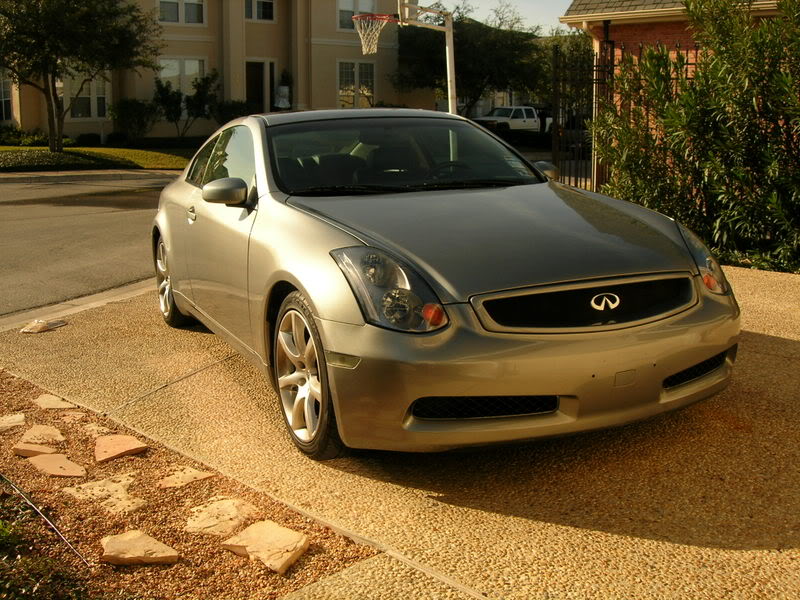
After bumper plugs:
Heres how to make your own Bumper plugs for $10:
Supplies needed:
Hillman 7/16 Nylon Hole plugs (Black)
OEM Touch Up paint
Spray Enamel
220 grit Sandpaper
Pocket knife
Steps:
1. Go to your local Lowes or Home Depot and buy Hillman 7/16" Nylon Hole plugs in Black. Also buy some spray enamel or clear coat for added durablilty.
2. Buy OEM touch up paint if you dont have some already. Its about $8.00 and you will need it in the future anyway.
3. The plugs are not smooth on the top, so I sanded them with 220 grit sandpaper, which will also help the paint adhere. Wipe them off so no plastic dust is left.
4. Set the plugs so they will be easy to paint and will not get knocked over, I just pushed them in about 1/4" into a piece of styrofoam.
5. Shake up the touch up paint for a long time, then apply a thin single coat of paint to each plug. Let them dry for 20-25 minutes. Repeat this step as many times as necessary. (I used about 6 coats)
6. After they are totally dry, I hit them with 3 coats of spray enamel (about 10 minutes apart) for added durabilty. Then let them dry for a day or so.
7. The 7/16" plugs wont fit in the holes, you need to bore the existing holes out ever so slightly to ensure a tight fit. I used a pocket knife and did one round in the hole. After that the plugs will barely fit, you have to push them in. Be very careful not to make the hole too big!
8. Pop both of those babies in and bam! Youre done. Then take your girl out to dinner or something with the extra $20 you saved
Before Bumper Plugs:
After bumper plugs:


 ???
???
#7
03-26-2007, 10:22 PM

Ok. Here's the update for those of you who are planning on doing this mod. I could only find these "Hillman's Hole Plugs" @ Lowe's and they are in the hardware dept. Over there in that dept. you will see a bunch of drawers full of misc. hardware. Look for the drawer that says "Nylon plugs" or "Nylon Spacers" or "Nylon" something like that. And i recommend those of you to get wet sand paper. The 220 grit leaves a little rough finish, so either use both, or just the wet sand paper. It leaves a perfect finish. Good Luck
Trending Topics


#10
08-24-2007, 04:25 PM


#13
05-28-2008, 03:50 PM

Join Date: May 2008
Location: Kansas City Kansas
Posts: 131
Likes: 0
Received 0 Likes
on
0 Posts